On the Good Chip Urtica Dioica: A Nettle Chip Recipe
Yup, just like the title says. Stinging nettles (Urtica dioica), the darling of wild spring greens, make really great, really healthy and really free (minus labour. yours, lots of it).
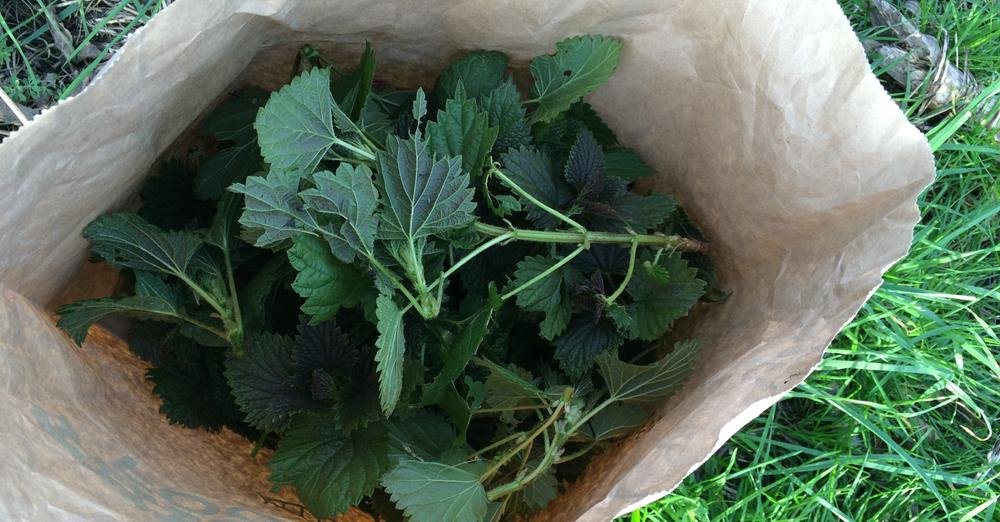
The nettles came early to Vancouver Island this year, and we’ve been enjoying the bounty and spring sting that comes with it. A stimulated circulation is a happy circulation, I always (actually, just this minute) say. We’ve been eating them in eggs, soup, tea, straight up and sauteed and even in cupcakes. After one particularly robust harvest & evening of pureeing, I found a bag of nettle leaves that somehow escaped the steamer. Now, I’d just washed said steamer and had no intention of dragging it and my ancient blender out again. However, I couldn’t bear to sentence those pert and fresh leaves to languish and limpen (new word alert) in the fridge overnight. So, what do you do when life gives you nettles? You make nettle chips!
I’d been meaning to try out Mountain Rose Herb’s recipe for ages, but for some reason I had it in my head that chips just weren’t serious enough for such a powerhouse green. I was dumb. Nettles are totally fun and hip. Just look at them, with their tender top four leaves and edgy hypodermic hairs o’ poison. Total crisp material.
Impress your friends. Confound your enemies. Make nettle chips. Now.
Recipe: Stinging Nettle Chips à la Mountain Rose Herbs
Ingredients
2 tablespoons olive oil. I used a strong-tasting kalamata oil because I really like how it tastes. Any vegetable oil will do and word on the street is that coconut oil is quite nice.
1 tablespoon rice wine vinegar ( I didn’t have any, so I used white wine vinegar )
1 tablespoon Braggs
1 tablespoon flavoured balsalmic vinegar. I had just enough of gorgeous lavender vinegar kicking around.
1 tablespoon of tamari sauce
2 cloves of crushed cloves of garlic ( I like garlic. A lot. You do what’s best for you.)
2 tablespoons of nutritional yeast
black pepper to taste
Directions
Harvest your nettles, give them a good rinse in cold water and dry them with a towel. Obviously you are wearing gloves right now. Next, separate the leaves, breaking the leaf stem from the stalk.
Preheat oven to 200 degrees.
Line a baking sheet with parchment paper.
Mix all the ingredients into a bowl. Add your nettles leaves and toss gently until they’re all completely covered. You want to go slow here because the leaves can tear from overenthusiastic tossing.
You probably won’t need your gloves at this point, which is good because because things are about to get persnickety. Carefully unroll each delicate leaf and place them on the baking sheet. Don’t overlap leaves or they won’t crisp up.
Put the pan in the oven and find something to do for 15 minutes. Once your timer goes off, rush to the oven and flip the leaves over and bake for another 10 minutes. If they’re still not totally crisp, leave them in longer, checking on them every few minutes. It would really, really suck to burn them. I know this because I’m still barely talking to myself after burning my first batch. I ate them anyway.
Once they’re as crispy as you like them, let them cool. You can try to store them in an airtight container, but let’s get real. You will have in front of you crispy little flavour miracles. You will eat them. But if you’re in to self-control, you CAN store them in an airtight container for up to a week according to the good fine people over at Mountain Rose Herbs. This is still only a theory in my house.
Happy hover-eating!